The keep it simple principle works for bug out bags too. While we’ll be going through much more comprehensive lists of gear with reasons why you might want it in your bag in other articles, this article is going to break down how to create a bare bones bug out bag. Let’s call it the B4!
The beauty of keeping things simple is you’ll have a lighter pack that is easier to carry and you’ll also actually be able to find what you’re looking for. The contents of this bag are going to focus on the gear that will get you through 2 or 3 days without support and to your bug out location that hopefully has more supplies. Ideally you’ll never need any bug out bag but if you do, this is (way!) better than nothing.
The Bag
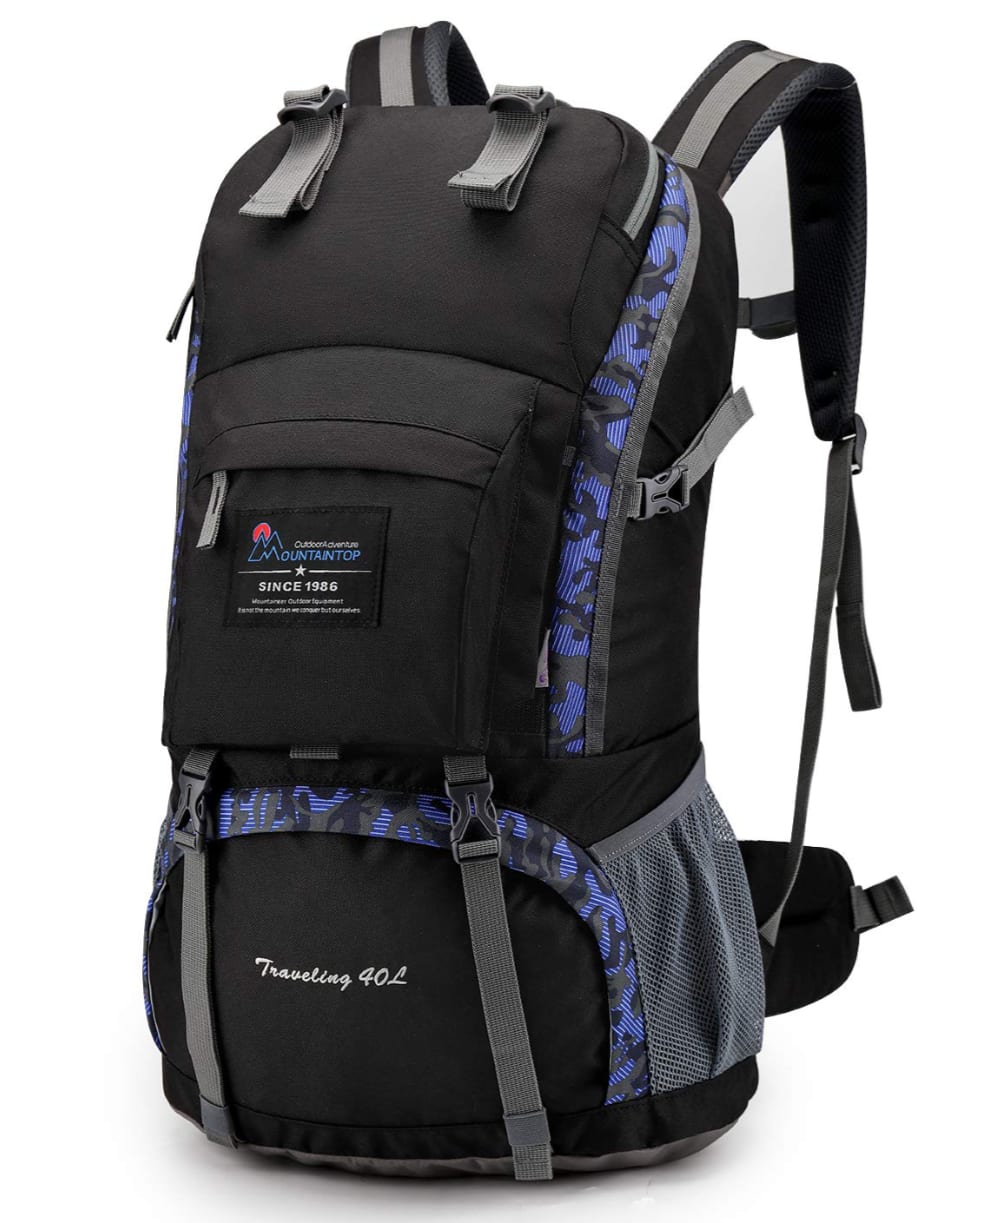
So, obviously the first thing you’re going to need is a bag to carry our supplies in. Since we’re keeping it simple we’re just going to use a good hiking bag that you’ve got laying around at home, maybe in your garage? Ideally it’s not some flimsy school bag you or your kid used for 5th grade. You want something that is made for hiking, that has comfortable straps and won’t rip to shreds when it has more than 5lbs in it.
Bonus if it has a waist strap to take some tension off your shoulders once in a while. Chances are you’re going to be walking a ways to your bug out location.
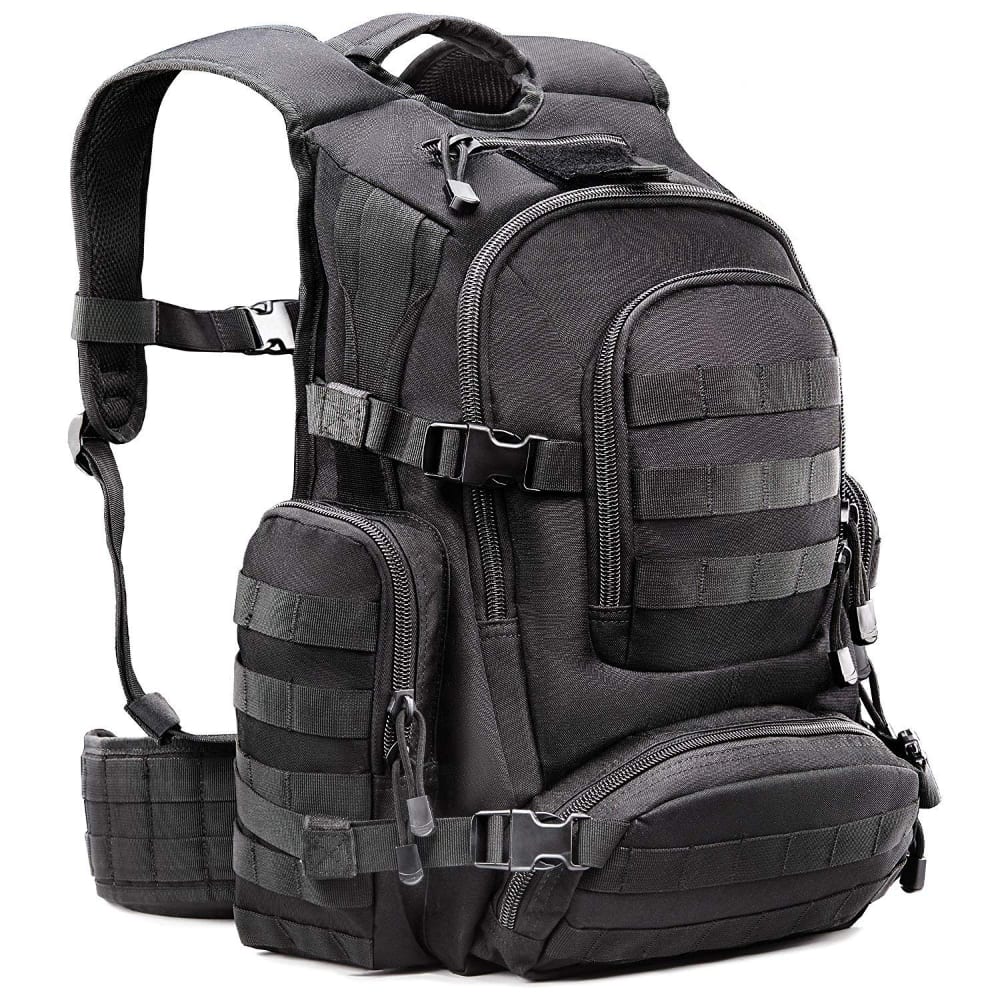
If you don’t already have a decent pack laying about here are a couple we think would do a good job.


50L Tactical 1050D Nylon Backpack
A more rugged but still affordable pack. Outer webbing channels allow for additional attachments.
The Priorities
We’re going to need to highly prioritize the gear we put in our B4 bag. To do that we’re going to follow the “Survival Rule of Threes”, which states, “we can survive 3 minutes without oxygen, 3 hours without shelter, 3 days without water and 3 weeks without food.
This gives us a good way to prioritize the items we’ll be adding to our bag, so the next time you’re in a tough place you’ll have what you need to make it through, with hopefully a little added comfort too.
Since we’re focused on gear for our B4, we’re not going to cover extensively the loss of oxygen. You should train yourself in basic first aid techniques and know how to give someone the Heimlich maneuver and perform basic CPR.
1. Medications
If you have any critical medications you should put at least a week’s supply in your bug out pack. These will obviously not be available in a survival situation and are easy to forget at home in the rush to leave a situation that is turning dangerous.
If you have allergies or asthma you should pack an inhaler or emergency epinephrine. You should wear a medical ID bracelet or carry an identification card that lets others know about any medical conditions or allergies. All epinephrine inhalers and injectors require a prescription, so the chances of someone else having these is pretty low.
2. A Simple Shelter Can Save You
Thousands of people die every year from becoming lost and not being prepared for the weather changes where they are. Either extreme heat or cold will kill you very quickly. You should definitely have an emergency shelter in your Bare Bones Bug Out Bag. We want something small and light but also a material that will keep out wind and rain, while reflecting heat (either in or out).
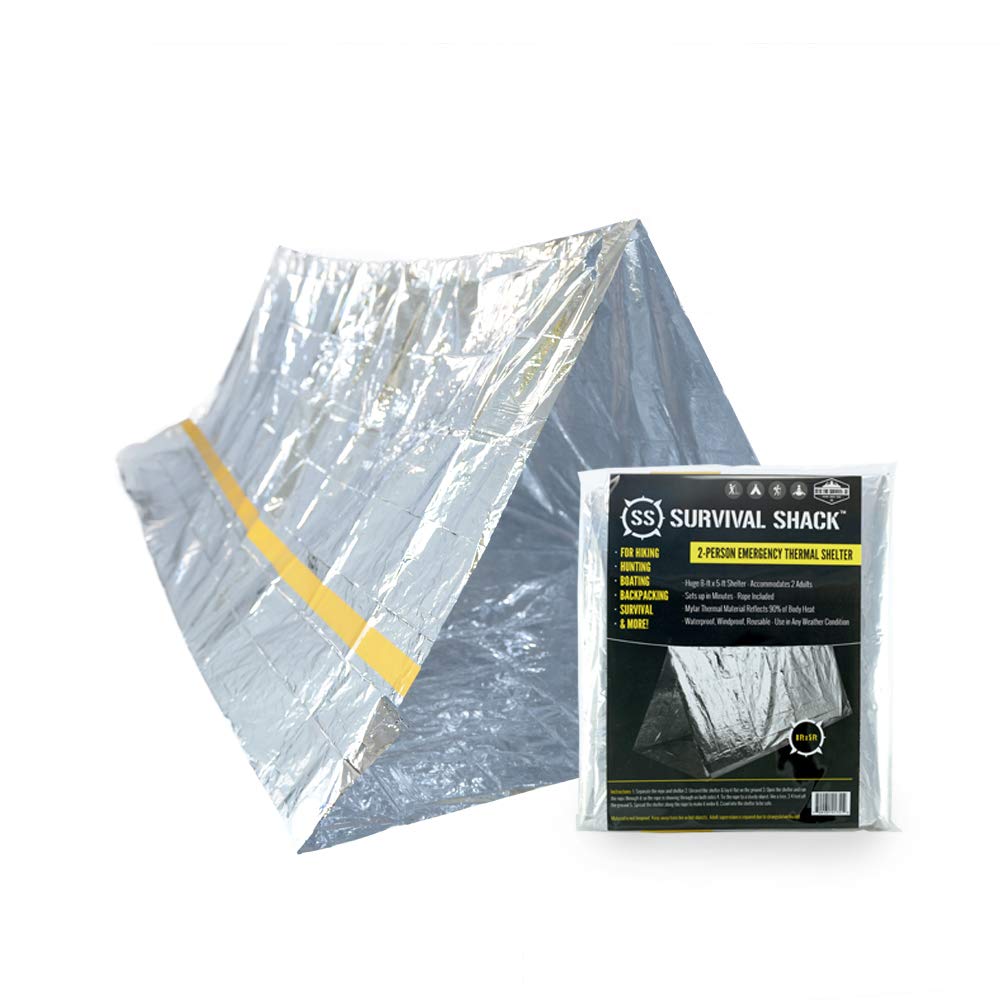
Our favorite in this situation is waterproof tarp essentially with at least one heat reflective side. This material is light and easy to pack but very versatile. You can wrap it around you and use it as a sleeping bag to trap in body heat. You can hang it for shade in the high heat and reflect the sun away. Or more commonly, you can hang it over the included line and make a tube tent that both blocks the wind and reflects heat back – or away – from you.
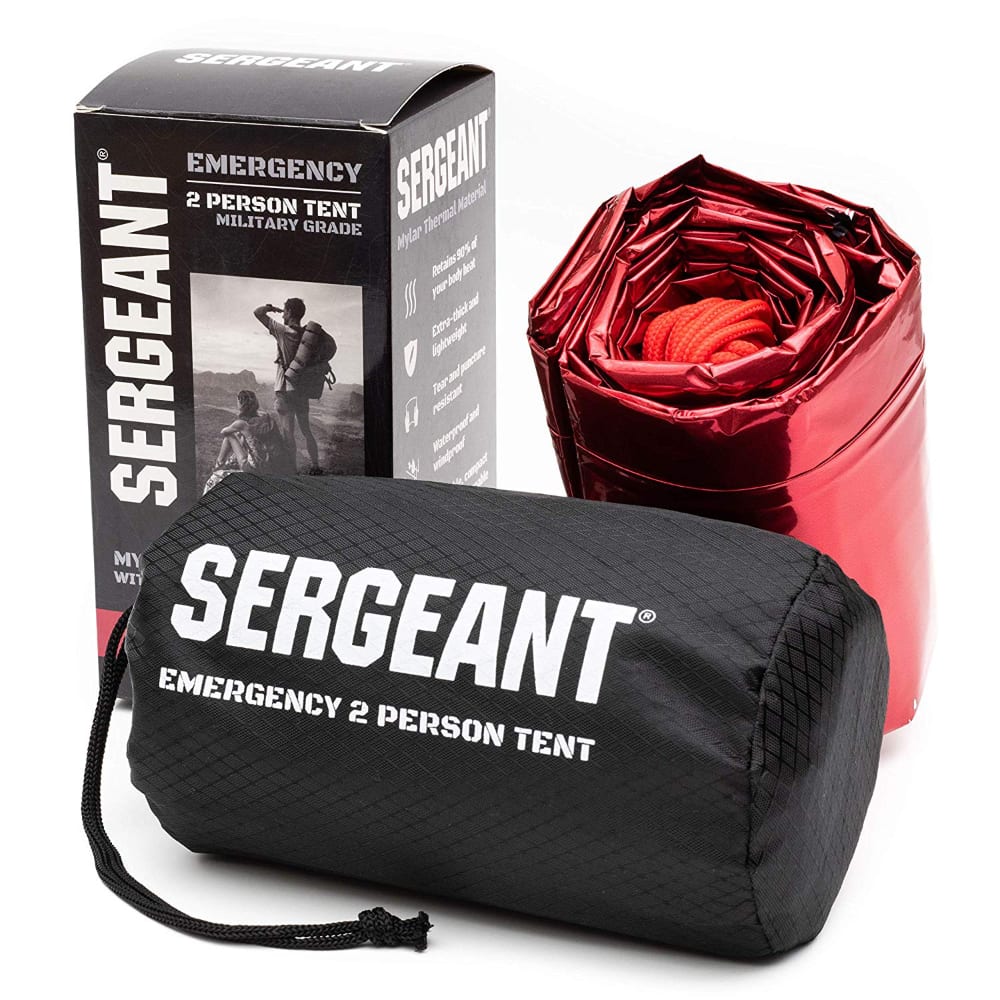
Something like the emergency tents below should do a good job.

2 Person Emergency Survival Tent
Multi-function 2 person Mylar tent. 5×8 feet of extra thick material but still weighs only 8.6 ounces.

Simple Tube Tent
The basic mylar survival tube tent. Who knew about $10 could save your life?